When the craving for something sweet and creamy strikes, but the thoght of turning on the oven feels like a chore, easy no-bake cheesecake cups step in as the perfect answer. These delightful treats combine the smooth, luscious texture of classic cheesecake with the convenience of a no-bake recipe, making them an ideal dessert for any occasion. Whether you’re hosting a casual get-together, looking for a rapid fix after dinner, or simply want to indulge without the fuss, these cheesecake cups deliver creamy decadence in every spoonful-no oven required. Let’s dive into the simple steps to create this irresistible, creamy dessert delight that promises to satisfy your sweet tooth and impress your guests alike.
Choosing the Perfect Ingredients for Ultimate Creaminess
Easy No-Bake Cheesecake Cups: Creamy Dessert delight begins with selecting truly quality ingredients that bring luscious texture and irresistible flavor. Opt for full-fat cream cheese to guarantee a rich, velvety base that holds its structure without baking. Freshly whipped heavy cream introduces the airy lightness that makes every spoonful melt effortlessly. For natural sweetness and tang, select pure vanilla extract and a touch of granulated sugar or powdered sugar, whichever dissolves more smoothly in the cream. When it comes to the crust layer, crunchy graham cracker crumbs or finely crushed digestive biscuits provide a satisfyingly crisp contrast, transporting this dessert to classic cheesecake perfection.
Choosing fresh, premium ingredients not only ensures the best flavor but also affects the cheesecake cups’ creaminess and mouthfeel, making the no-bake version every bit as divine as its baked counterpart.
Step by Step guide to layering Your No Bake Cheesecake Cups
- start with the crust: Spoon about 2 tablespoons of crushed graham crackers into the base of each cup. Press gently with the back of a spoon to form a compact layer, creating a sturdy foundation that contrasts the creamy top beautifully.
- Prepare the cheesecake filling: Beat your softened cream cheese until smooth before folding in whipped heavy cream and sugar. This ensures a light, fluffy texture that escapes any lumps.
- Layer the filling: Using a piping bag or spoon, add a generous layer of cheesecake mixture over the crust in each cup. Smooth the top with a small spatula for a polished look.
- chill between layers: Briefly refrigerate the cups for 10-15 minutes after each layer to set them slightly. This step helps create defined, clean layers and prevents blending of textures.
- Add extra layers: For a more dynamic experience, repeat crust and filling layers once more. This technique turns simple cheesecake cups into a stunning multi-textured treat.
- Final chill: After assembling all layers, refrigerate the cups for at least 4 hours or overnight to develop that signature creamy firmness with a melt-in-your-mouth effect.
Creative Toppings and Mix-ins to Elevate Your Dessert
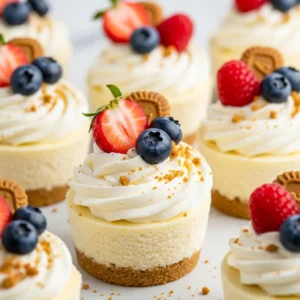
While the classic cheesecake cups shine on their own, the possibilities to personalize and elevate this dessert are endless. Fresh fruit like plump blueberries, strawberries sliced thinly, or tart raspberries adds bursts of natural flavor and vibrant color. For a luxurious twist, drizzle with homemade salted caramel sauce or a spoonful of citrus curd, such as lemon or passionfruit, to cut through the richness.
Crunchy toppings like toasted almonds, chopped pistachios, or even shards of dark chocolate create delightful texture contrasts. You can also fold in mix-ins like mini white chocolate chips or a swirl of natural nut butter directly into the filling before layering.
These creative additions not only highlight your culinary personality but transform simple no-bake cheesecake cups into an unforgettable dessert centerpiece.
Tips for Perfectly Chilled Cheesecake Cups Every Time
- Use room temperature cream cheese: Softening it fully ensures your filling is smooth and lump-free, vital for creamy texture.
- Don’t rush the chill: Allow at least 4 hours or overnight in the fridge; this lets the filling firm up properly, delivering that perfect slice-with-a-spoon consistency.
- Cover the cups tightly: Use plastic wrap or airtight lids to prevent fridge odors from seeping in and to stop condensation forming on the surface.
- Serve chilled but not frozen: Bringing the cheesecake cups to just under refrigerator temperature helps release their full flavor and ultra-creamy mouthfeel.
- Freeze for make-ahead convenience: Wrapped well, these cups freeze nicely for up to 1 month-thaw overnight in the fridge before serving.
prep and Cook Time
- Readiness: 20 minutes
- Setting Time: 4 hours minimum (preferably overnight)
Yield
6 individual no-bake cheesecake cups
Difficulty Level
Easy
ingredients
- 1 ½ cups graham cracker crumbs (about 10 full sheets, finely crushed)
- 5 tablespoons unsalted butter, melted
- 16 oz (450g) full-fat cream cheese, softened
- 1 cup heavy whipping cream, cold
- ¾ cup powdered sugar, sifted
- 1 teaspoon pure vanilla extract
- Fresh fruits and toppings as desired (e.g., blueberries, sliced strawberries, chopped nuts)
instructions
- Make the crust: In a bowl, combine graham cracker crumbs and melted butter until crumbs are evenly coated and resemble wet sand. Divide mixture evenly among six serving cups,pressing firmly into the base.
- Whip the cream: in a chilled bowl, beat heavy cream using an electric mixer until stiff peaks form.Set aside.
- Prepare the cream cheese base: In another large bowl, beat the softened cream cheese until smooth and creamy. Gradually add powdered sugar and vanilla extract, mixing until fully incorporated and silky.
- Fold whipped cream into cream cheese: Gently fold the whipped cream into the cream cheese mixture in two additions using a spatula. This careful folding preserves the airy texture needed for ultimate creaminess.
- Layer the cheesecake filling: spoon or pipe half of the cheesecake mixture over the crust layer in each cup. smooth the surface gently with an offset spatula.
- Add a second crust layer (optional): For visual effect and extra crunch, sprinkle a thin layer of graham crumbs, followed by the remaining cheesecake mixture as a final layer.
- Chill: Cover each cup tightly with plastic wrap and refrigerate for at least 4 hours or overnight before serving.
- Finish with toppings: Just before serving, add fresh fruit, nuts, or drizzles of caramel or chocolate sauce for a stunning presentation.
Chef’s Notes
- Substitutions: For a tangier flavor,substitute up to ¼ cup of cream cheese with mascarpone cheese.
- Sugar alternatives: Use coconut sugar or maple syrup, adjusting sweetness to taste; if using liquid sweeteners, reduce heavy cream slightly.
- Gluten-free option: Use gluten-free graham crackers or crushed nuts for the crust to cater to dietary needs.
- Storage: Keep refrigerated and consume within 3 days for peak freshness and texture.
- Make ahead: These no-bake cheesecake cups are perfect for advance preparation; assemble and chill overnight to save time on event days.
Serving Suggestions
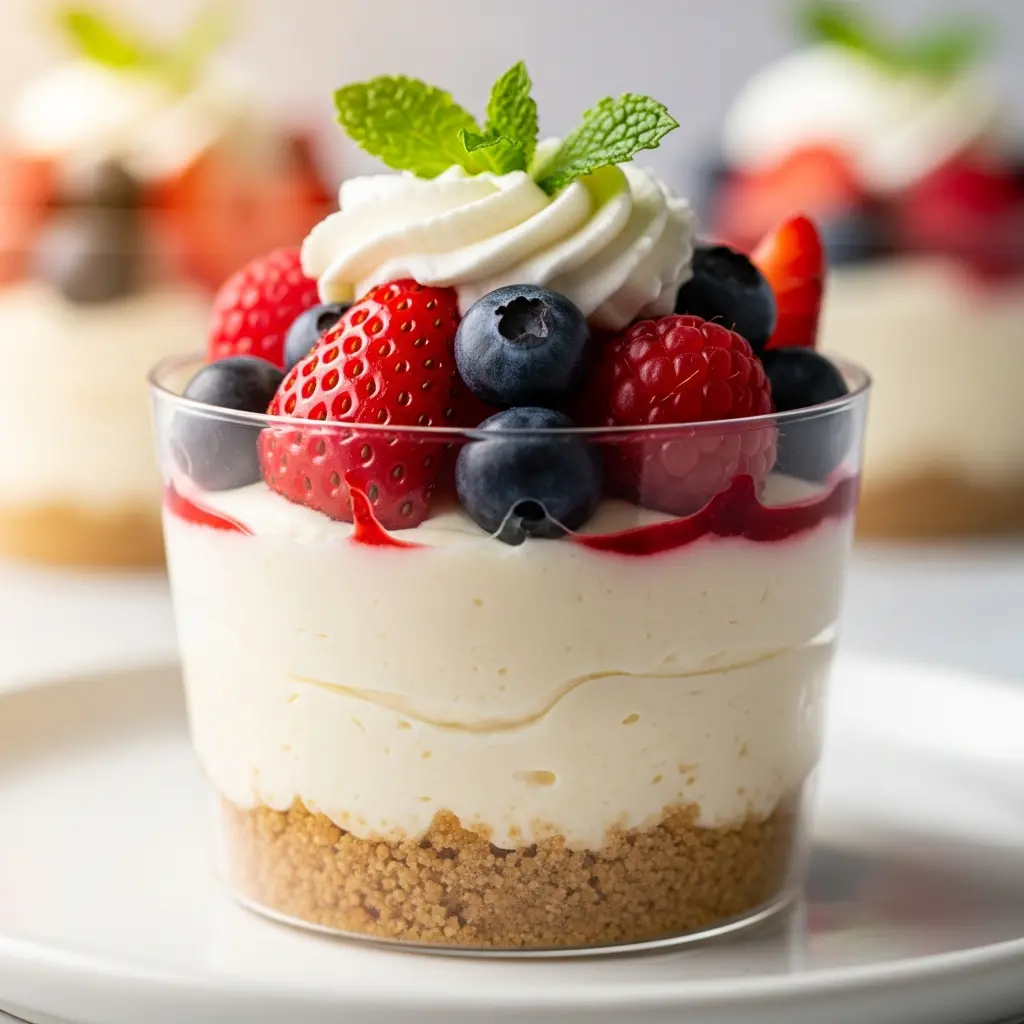
Present your cheesecake cups in clear glassware or mini mason jars to showcase their stunning layers. Garnish with a sprig of fresh mint or edible flowers to add a pop of color.Pair with espresso or a fruity iced tea for a balanced dessert experience. For celebrations, layering a thin drizzle of homemade berry coulis on top creates an elegant, restaurant-quality finish.

| Nutritional Info (Per Serving) | Calories | Protein | Carbs | Fat |
|---|---|---|---|---|
| Easy No-Bake Cheesecake Cups | 290 kcal | 5 g | 25 g | 20 g |
For more creative no-bake dessert ideas, explore our no-bake desserts collection. To deepen your understanding of cream cheese science and tips for perfect texture, visit Cook’s Illustrated.
Q&A
Q&A: Easy No-Bake Cheesecake Cups: Creamy Dessert Delight
Q1: What makes no-bake cheesecake cups a great dessert choice?
A1: No-bake cheesecake cups are perfect because they combine creamy richness with a quick and effortless preparation. Without the need for an oven, you can whip up a decadent dessert that’s ready to enjoy after just a few hours in the fridge-ideal for busy days or unexpected guests!
Q2: What ingredients are essential for making these no-bake cheesecake cups?
A2: The magic trio includes cream cheese, whipped cream (or heavy cream), and a sweetener like sugar or honey. Add a crunchy base with crushed cookies or graham crackers, and for that extra flavor pop, fresh fruit or fruit preserves make fantastic toppings.
Q3: How can I ensure the cheesecake filling is perfectly creamy and smooth?
A3: To achieve that silky texture, make sure your cream cheese is softened to room temperature before mixing. Beat it well to avoid lumps, then gently fold in the whipped cream to keep the filling light and airy.This technique balances creaminess with fluffiness beautifully.
Q4: Can I customize the flavor of the cheesecake cups?
A4: Absolutely! Vanilla extract is a classic addition, but feel free to get creative. Citrus zest (like lemon or orange), cocoa powder, or a hint of cinnamon can all add delightful twists.You can also layer in fresh berries, chocolate chips, or a drizzle of caramel or fruit sauce.
Q5: What are some fun presentation ideas for serving these cheesecake cups?
A5: Presentation is part of the delight! Serve them in clear glass jars, mini mason jars, or pretty dessert cups to showcase the layers. Top with fresh fruit, a sprig of mint, or a sprinkle of crushed nuts for color and texture.For special occasions,edible flowers can add a whimsical touch.
Q6: How long can I store no-bake cheesecake cups?
A6: Stored in an airtight container and refrigerated, these cheesecake cups stay fresh for about 3-4 days. They’re perfect for making ahead of a party or preparing as a ready-to-go sweet treat anytime.
Q7: Are there any tips for making this dessert kid-pleasant?
A7: Definitely! Keep the flavors simple and sweet,like strawberry or banana puree mixed into the cream filling. Let kids help with layering and decorating their own cups using colorful fruit or sprinkles-it’s a fun way to involve them in the kitchen and enjoy dessert together.
Q8: Can I make these cheesecakes vegan or dairy-free?
A8: Yes! Use plant-based cream cheese alternatives and whipped coconut cream to replicate the creamy texture. Swap out traditional graham crackers for gluten-free or vegan cookies if needed, and sweeten with maple syrup or agave for a wholesome twist.
Ready to dive into these creamy, dreamy delights? your no-bake cheesecake cups await-simple to make, appetizing to devour, and endlessly customizable!
The Conclusion
As you can see, these Easy No-Bake Cheesecake cups are the perfect blend of creamy richness and effortless preparation-a true delight that transforms any occasion into a sweet celebration. Whether you’re craving a quick treat or impressing guests with minimal fuss, this dessert delivers on both taste and convenience. So next time you want to indulge without the oven’s heat, remember that a few simple ingredients can come together to create a luscious, no-bake masterpiece that everyone will love. Dive in, savor each bite, and let these cheesecake cups become your new go-to dessert staple.